No-code quickstart
Overview
In this tutorial, you’ll learn how to use Plasmic to publish your own no-code app or website in just three minutes. You don’t need any prior experience in coding or building apps or websites. Here’s an example of a website you could create within minutes: https://hello-world.plasmic.run
Here’s a rough outline of what you’ll be doing:
- Sign in to Plasmic Studio (1 minute)
- Create a new Plasmic project (1 minute)
- Publish your project (1 minute)
Start your timers!
Sign in to Plasmic Studio
First, you’ll need to sign in to Plasmic Studio. If you already have an account, you can sign in here. If you’re new to Plasmic, you can sign up here.
Create a new Plasmic project
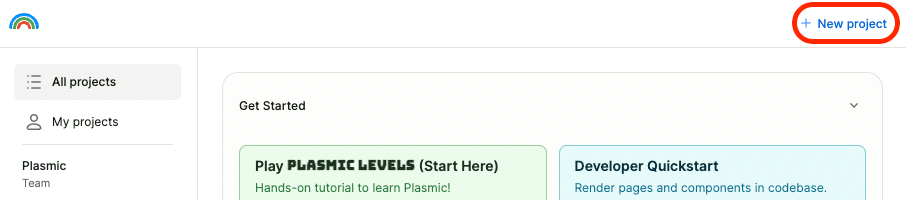
In Plasmic Studio, click “New project” at the top right corner. Select a template to start with, or a blank project if you prefer.
Upon creating your project, you’ll land on the editor view:
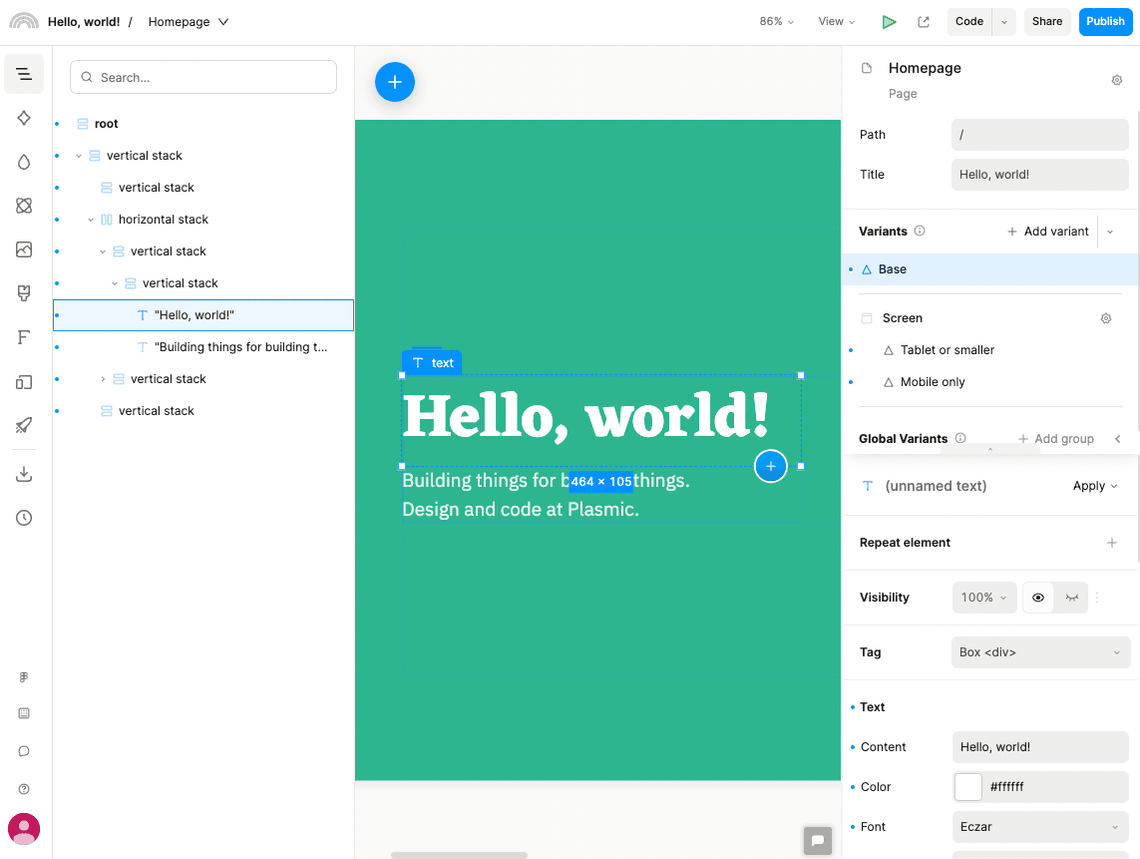
It’s okay if you find the Plasmic Studio interface unfamiliar at first. We’ll only focus on publishing the project for now.
Publish your project
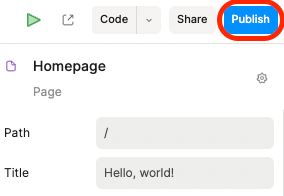
Look for the “Publish” button at the top right corner.
The publish dialog should pop up. Click the “Plasmic hosting” button near the bottom.
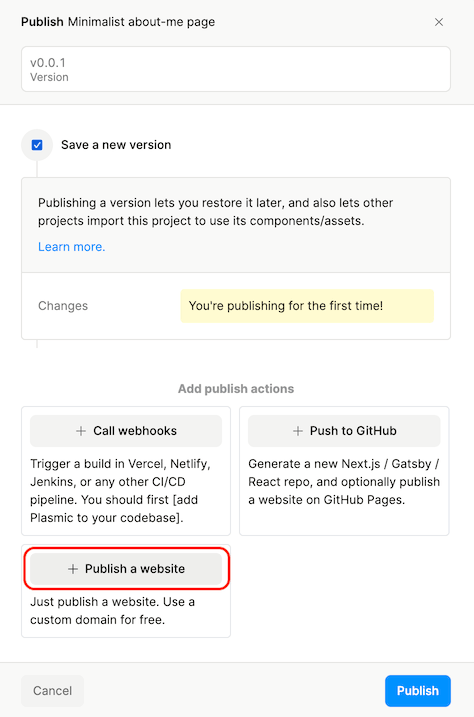
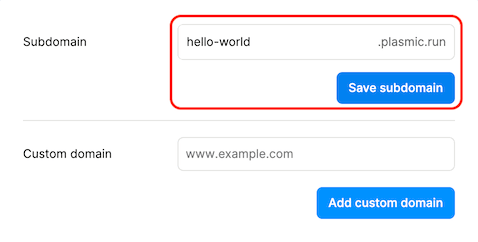
Another dialog should pop up. For this tutorial, let’s configure a new *.plasmic.run subdomain.
You can change this to your own custom domain in the future. Click “Save subdomain” after you’ve chosen a unique subdomain.
Double-check your configured subdomain. You can click “Configure” again if you need to edit it. Finally, click “Publish” and let Plasmic do its magic.
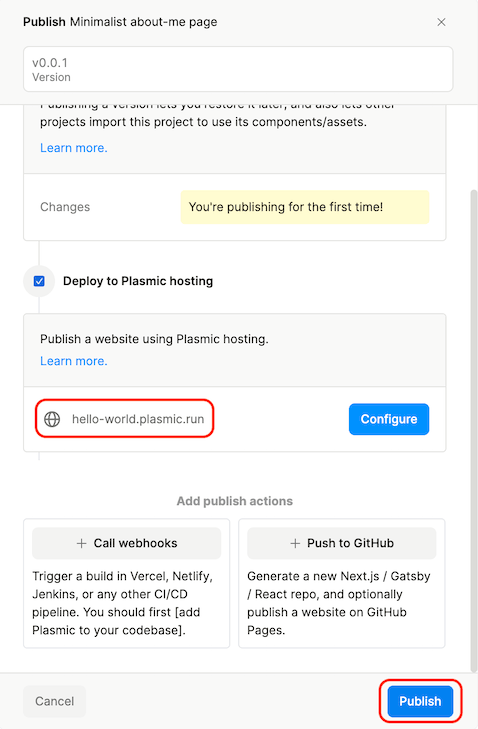
When it’s done, try visiting the site! Here’s ours: https://hello-world.plasmic.run