Host Plasmic Studio in your app
To use your own React components in Plasmic Studio, you must first set up an app host in your React app. This is a special page that Plasmic will use to render artboards with your custom code components. In your app host, you will register your code components with Plasmic, and provide any React context and configuration needed by your code components.
1. Create your app host page
For repos created by create-plasmic-app
If you created your Plasmic site using npx create-plasmic-app@latest, then your app host page is already set up for you. You should be able to find it in pages/plasmic-host.tsx.
Go ahead and move on to the next step.
For existing repos
Make sure you went through the Quickstart guide to integrate Plasmic into your codebase before continuing.
If you added Plasmic to an existing repo, then you will need to create the new app host page there.
By default, we recommend putting your app host page at a route like /plasmic-host. The main goal for the host page is to render a special <PlasmicCanvasHost/> component, which will bootstrap and run Plasmic Studio from within this page.
Do not have any other elements or content shown on the app-hosting page! Or else these will show up in the editor canvas.
import * as React from 'react';import { PlasmicCanvasHost } from '@plasmicapp/loader-nextjs';import '../../plasmic-init-client';export default function PlasmicHost() {return <PlasmicCanvasHost />;}
2. Verify your app host is working
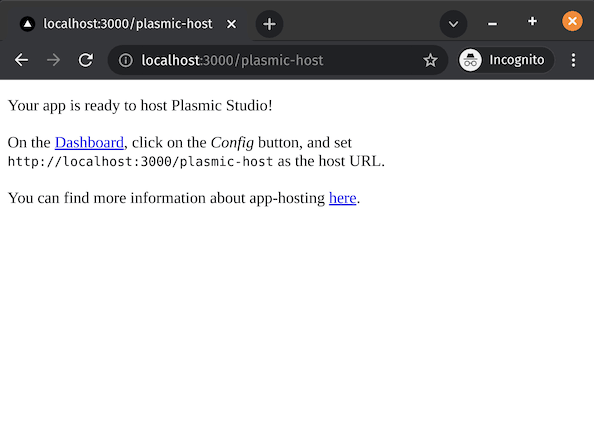
Once you have your host page set up, verify that it works by visiting it. If you followed the defaults, then it should be at something like http://localhost:3000/plasmic-host, depending on which port your app host is running.
You should see something like this:
3. Set your Plasmic project to use your app host
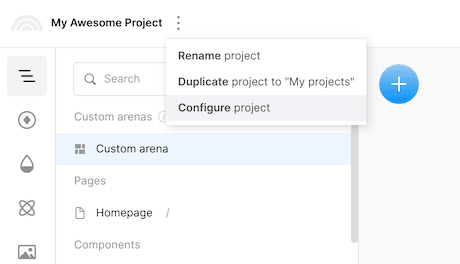
From your Plasmic project, click on the ellipsis menu by the name of the project on the top-left corner, and select “Configure project”:
Enter your app host URL (taking care to specify the http/https dropdown correctly), and press Confirm.
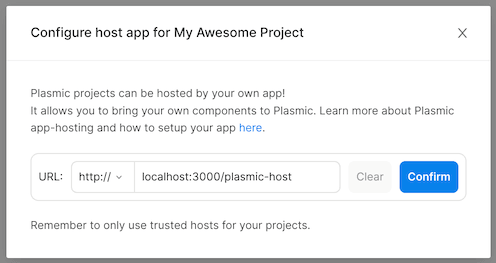
Your project should now reload with the new app host.
If the project loads, it works! 🎉
4. Register your code components!
Finally, you need to tell Plasmic what components you want to use in the Plasmic Studio by registering them. Follow the component registration guide here!
Security
Whenever you add a new host to a project, we mark that host as trusted - this is to avoid accessing untrusted apps when opening random projects. You can see and change the list of trusted hosts in the settings page.
Before adding a new host URL to a project or to the list of trusted apps, make sure that you really trust the app, as it will have access to that project’s data.
Also be careful to not provide personal information or credentials when you have a project page open: we will never ask you for access tokens or passwords while you edit or view a project.
App host in production
It is useful to point your Plasmic project to your localhost dev server for now, while you are setting it up. However, that means using the Plasmic project will require your local dev server to be running, which is not only inconvenient for you, but also makes it impossible for your teammates to open and edit the project.
Therefore, once you are done setting it up, we recommend that you deploy your app host page to your production app, and update the host url for your project to https://my-app.com/plasmic-host instead. That way, it is possible for any member of your team to open and edit the project in Plasmic without running a local dev server.
If you are deploying to certain hosting providers, such as Netlify, they may add extra headers such as X-Frame-Options: deny,
which will prevent app hosting from working.
Please make sure these are disabled in your hosting provider’s settings (see Netlify docs for example),
or contact us for additional help if this is not feasible for your environment.
Next: Register your components
Follow the Component registration guide to tell Plasmic about the code components you want to use.