Plasmic Auth (deprecated)
Plasmic Auth is deprecated. For new apps, use any authentication provider that fits your stack. For example, see Auth.js (next-auth) setup or the plasmic-prisma-starter.
This page will teach you how to build user-centric apps with user authentication and permissions in Plasmic Studio.
What is user authentication?
User authentication is the process of verifying who the user is. Users can authenticate (or log in) in various ways—typing in a password, clicking an email magic link, or authorizing via an external identity provider. Once logged in, the app can use data about the user to show personalized content.
Enabling user authentication
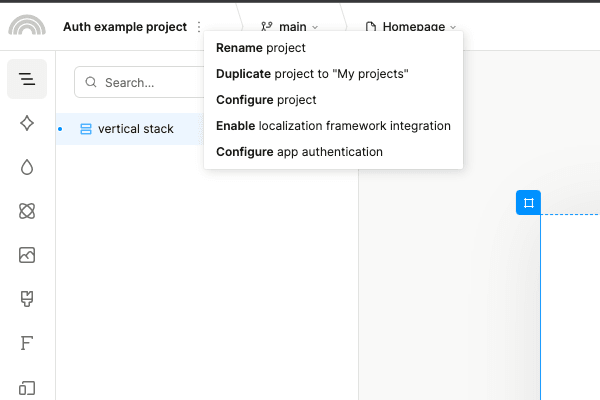
To enable user authentication, click on the ellipsis menu by the name of the project in the top-left corner, and select “Configure app authentication”.
And that’s it! When users try to visit a page that requires authentication, they’ll be automatically redirected to Plasmic’s authentication page.
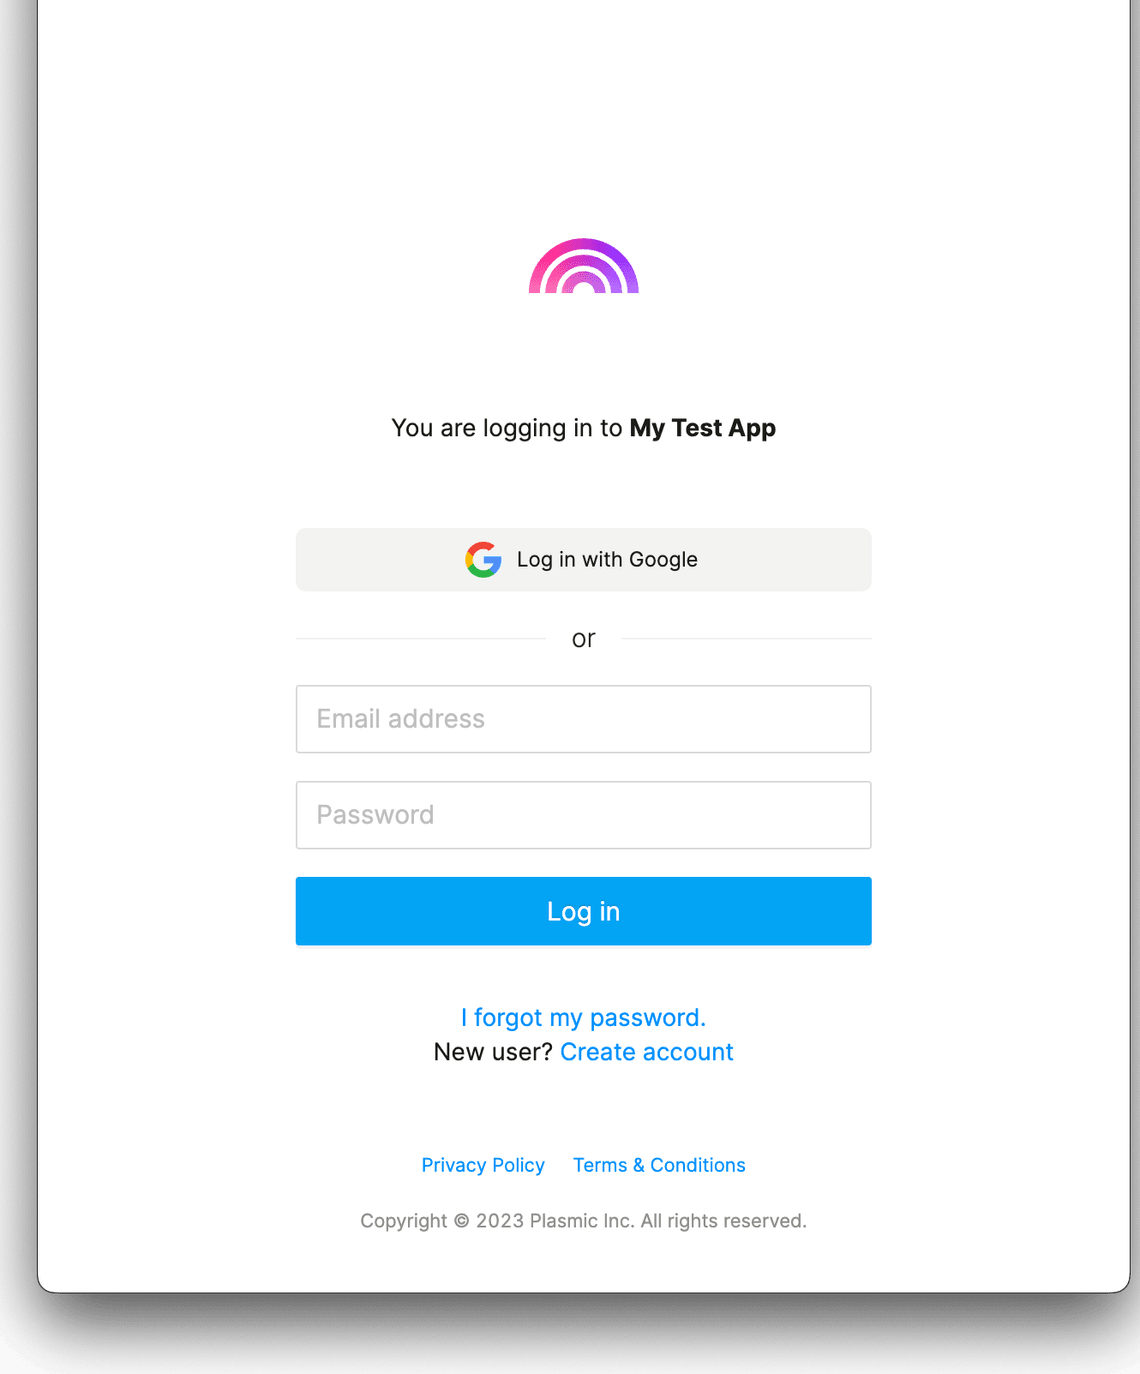
Plasmic’s authentication system is secure and currently supports the following methods of login:
- Email and password
- Sign in with Google
Projects with user authentication enabled cannot be imported by other projects.
Restricting who can log in
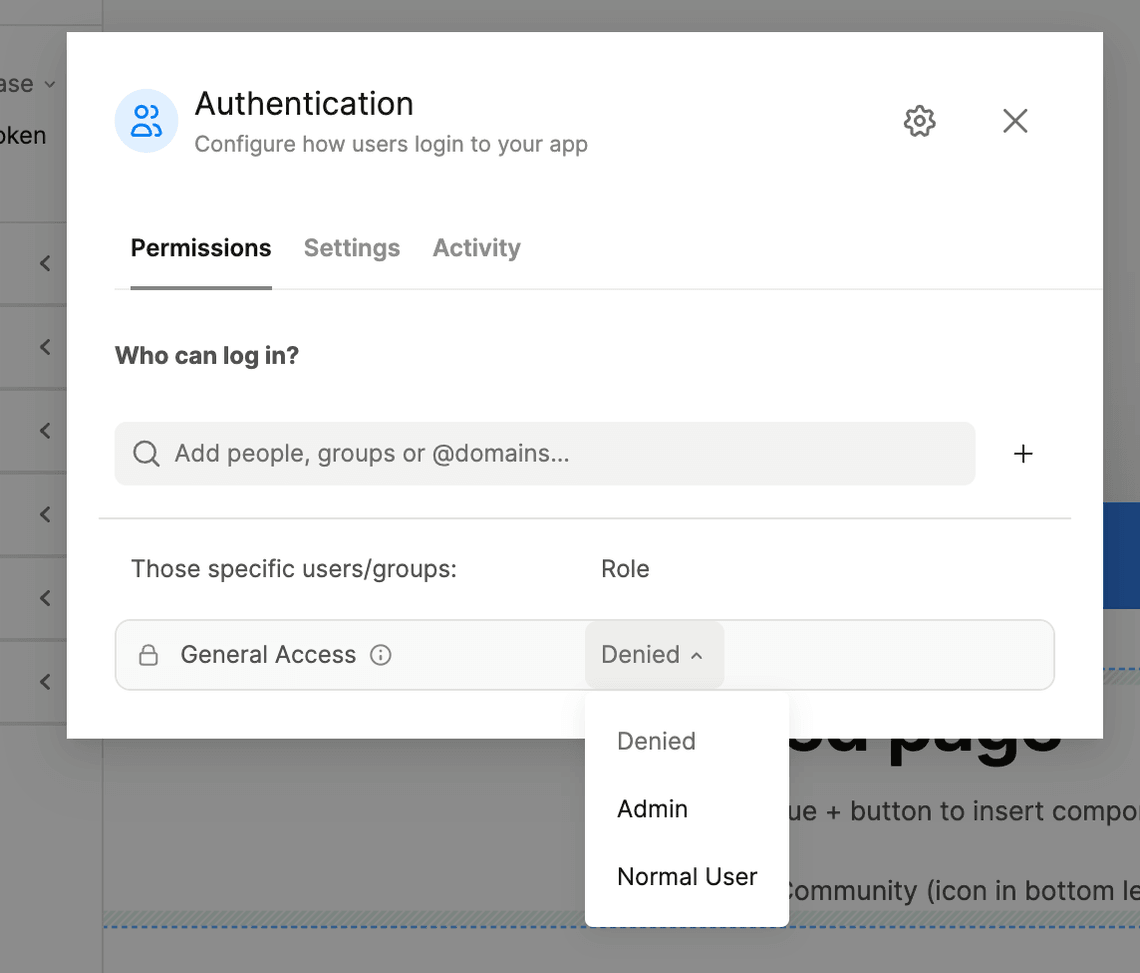
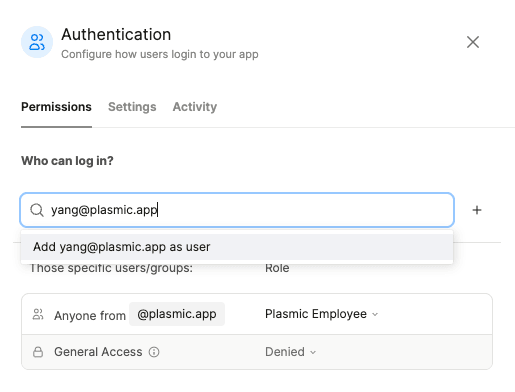
By default, when you enable auth, your app is public—anyone can sign up and log in to your app. You can change this in the “Permissions” tab of the auth configuration dialog. Change the “General access” item to “Denied” to make your app private and then selectively add users who can log in.
Users can be added in the following ways:
- By email (e.g. person@work.com)
- By email domain (e.g. any email ending in @work.com, useful for internal company apps)
- By group
Permissions
This section is about permissions and roles for your app’s users. For docs on project roles in Plasmic Studio, check out the collaboration page.
Authenticated users can have permissions, which dictate the pages a user can visit, the data they have access to, and more.
The process of checking permissions is called authorization. Because of how closely related authentication and authorization are and their common prefix, we commonly refer to them all by just “auth”.
Role-based access control
Plasmic Studio uses role-based access control (RBAC). RBAC is a simple way to define permissions: first we assign roles to users, then we can configure different parts of the app to require those roles.
Roles and ordering
Roles can be added and reordered in the “Settings” tab of the auth configuration dialog.
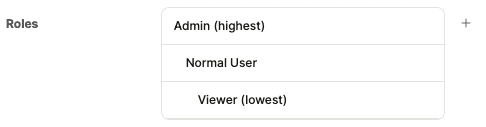
Roles are ordered. This means that a higher role always has greater access than a lower role.
For example, suppose an app has the following roles: Admin (highest), Normal User, Viewer (lowest). If a page requires a Normal User role, then both a Normal User and an Admin can visit the page, but a Viewer cannot.
Assigning users to roles
By default, when you enable auth, anyone can log in to your app with the “Viewer” role. You can change this in the “Permissions” tab of the auth configuration dialog.
Once a permission is added, you can configure their role.
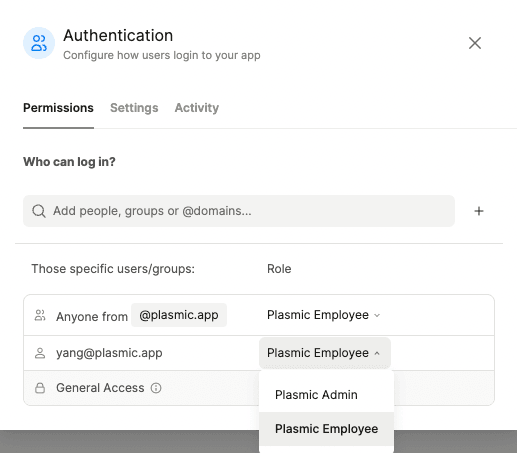
If a user matches more than one role, the user will receive the highest matched role.
Restricting pages by role
To restrict who can visit a page, set the “Role Needed” field on the right panel, under the “Page Data” tab.
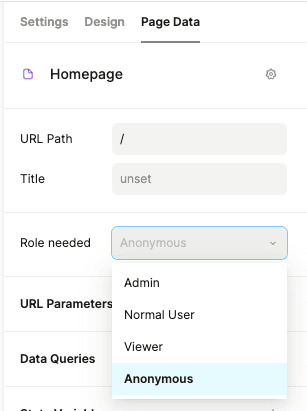
Notice one of the options is “Anonymous”. If set, then anyone, including users who haven’t logged in, can visit the page.
What happens if a user doesn’t have access to the page? It depends on the situation:
- If the user isn’t logged in, they will be automatically redirected to the login page. If they log in successfully, they’ll be brought back to the original page.
- If the user is logged in but their role is below the minimum requirement, they will see a permission denied error page.
You can configure the default “Role Needed” for new pages in the “Settings” tab of the auth configuration dialog.
Note that restricting pages by role may not prevent unwanted access to the underlying data or actions from unauthorized users. If the page has any data queries or backend operations, make sure you set a minimum role and/or secure user data.
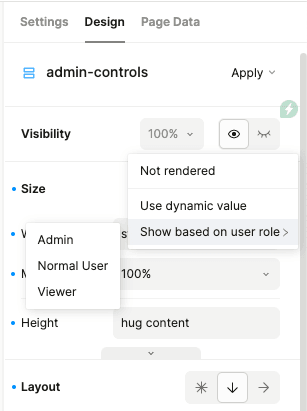
Showing or hiding elements by role
Sometimes, you may want to hide only certain sections of a page, and not the entire page. You can do this by setting an element’s “Visibility” field to only show based on the role.
Note that hiding elements by role may not prevent unwanted access to the underlying data or actions from unauthorized users. If the hidden element has any interactions with backend operations, make sure you set a minimum role and/or secure user data.
Directories and groups
For app use cases involving large numbers of users or permissions, groups are essential to organizing your users. Your app’s groups are called a directory. To manage your app’s directory and its groups, open the “Settings” tab of the auth configuration dialog, find “Directory”, and click “Manage”.

A directory can have any number of groups. A user can be a member of any number of groups.
Once you’ve put your users into groups, go back to the “Permissions” tab to assign roles to each group.
The same directory and its groups can be used in multiple apps!
Using the logged-in user in dynamic values
You can reference the logged-in user in dynamic values with the currentUser object.
The currentUser object contains email and role data.
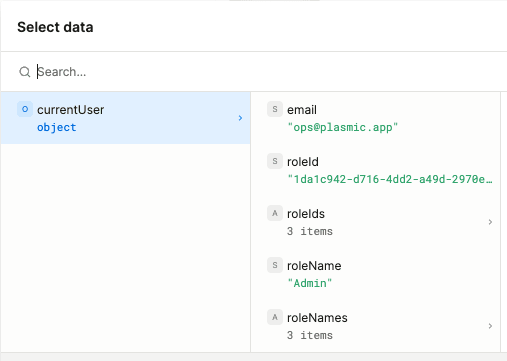
To display other information about a user, you’ll need to store and retrieve it in your own database, keyed on user emails.
For security reasons, the currentUser object behaves differently when used in data queries and backend operations.
Read more about integrations and security.
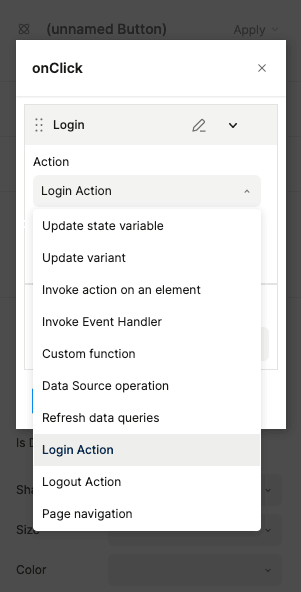
Adding login and logout buttons
Users will automatically be redirected to the Plasmic login page if they try to visit a restricted page. However, you might want to add an explicit login or logout button.
You can add an interaction and use the login/logout action types.
The login and logout actions do not work if you use a custom auth provider.
Security
This section explores technical details about authentication. For most users, it is not necessary to understand these details.
When a user is logs in to an app with either Plasmic Auth or a custom auth provider, Plasmic servers issue a token for the user. The host is expected to securely store the token, such as in a local storage, session storage, or secure cookies.
Issued tokens have the following security properties:
- Signed with HS256
- Valid for 7 days
- Scoped to the app, so users must reauthenticate between separate apps
Custom authentication and authorization
You may already have another auth provider, or maybe you need a more robust authorization system. Check out our developer docs on integrating a custom auth provider.